
Strap clamps and step blocks look simple. Yet incorrect clamp geometry is one of the most common hidden causes of job movement, chatter, bent studs, and T-slot damage in Indian CNC and VMC shops.
When clamp angle is wrong, step blocks are mismatched, or studs are too long, the load path silently shifts away from the workpiece and into the fastening system itself. What feels “tight” to the operator becomes a false grip that slowly destroys tables on machines like BFW, Jyoti, LMW, Ace Micromatic, and Haas.
This guide explains the mechanical science behind clamp geometry and shows how to set up strap clamps safely, repeatably, and correctly on Indian CNC shop floors.
1. What a Strap Clamp Actually Does (Beyond “Holding Down”)
A strap clamp is not just a bar that presses down. It is a first-class lever.
- The stud acts as the fulcrum
- The nut applies effort
- The clamp nose applies load to the job
- The step block provides the reaction force
Correctly positioned, this lever multiplies clamping force. Most professional tool rooms follow the 1/3–2/3 rule:
- Stud located ~1/3 clamp length from the nose
- Remaining ~2/3 toward the heel
This geometry can nearly double effective clamping force for the same tightening effort.
Vertical and Horizontal Force Matter
A slightly angled clamp produces:
- Vertical force → presses the job into the table
- Horizontal force → pushes the job into locators or stops
If the clamp nose overhangs air or soft packing, both force components bypass the job and load the stud and T-slot instead—creating a dangerous illusion of tightness.
2. Clamp Geometry Fundamentals: Why Angle Matters
Strap clamps are designed to work at shallow angles.
- Ideal angle: 10–20° from horizontal
- Above 30°: clamping efficiency drops rapidly
| Clamp Angle | Vertical Force | Side / Prying Force |
|---|---|---|
| 10° | ~98% | Low (safe) |
| 30° | ~87% | High (unstable) |
| 45° | ~71% | Dangerous prying |
At steep angles, tightening the nut can lift the job instead of clamping it. This prying action overloads studs and T-slot lips.
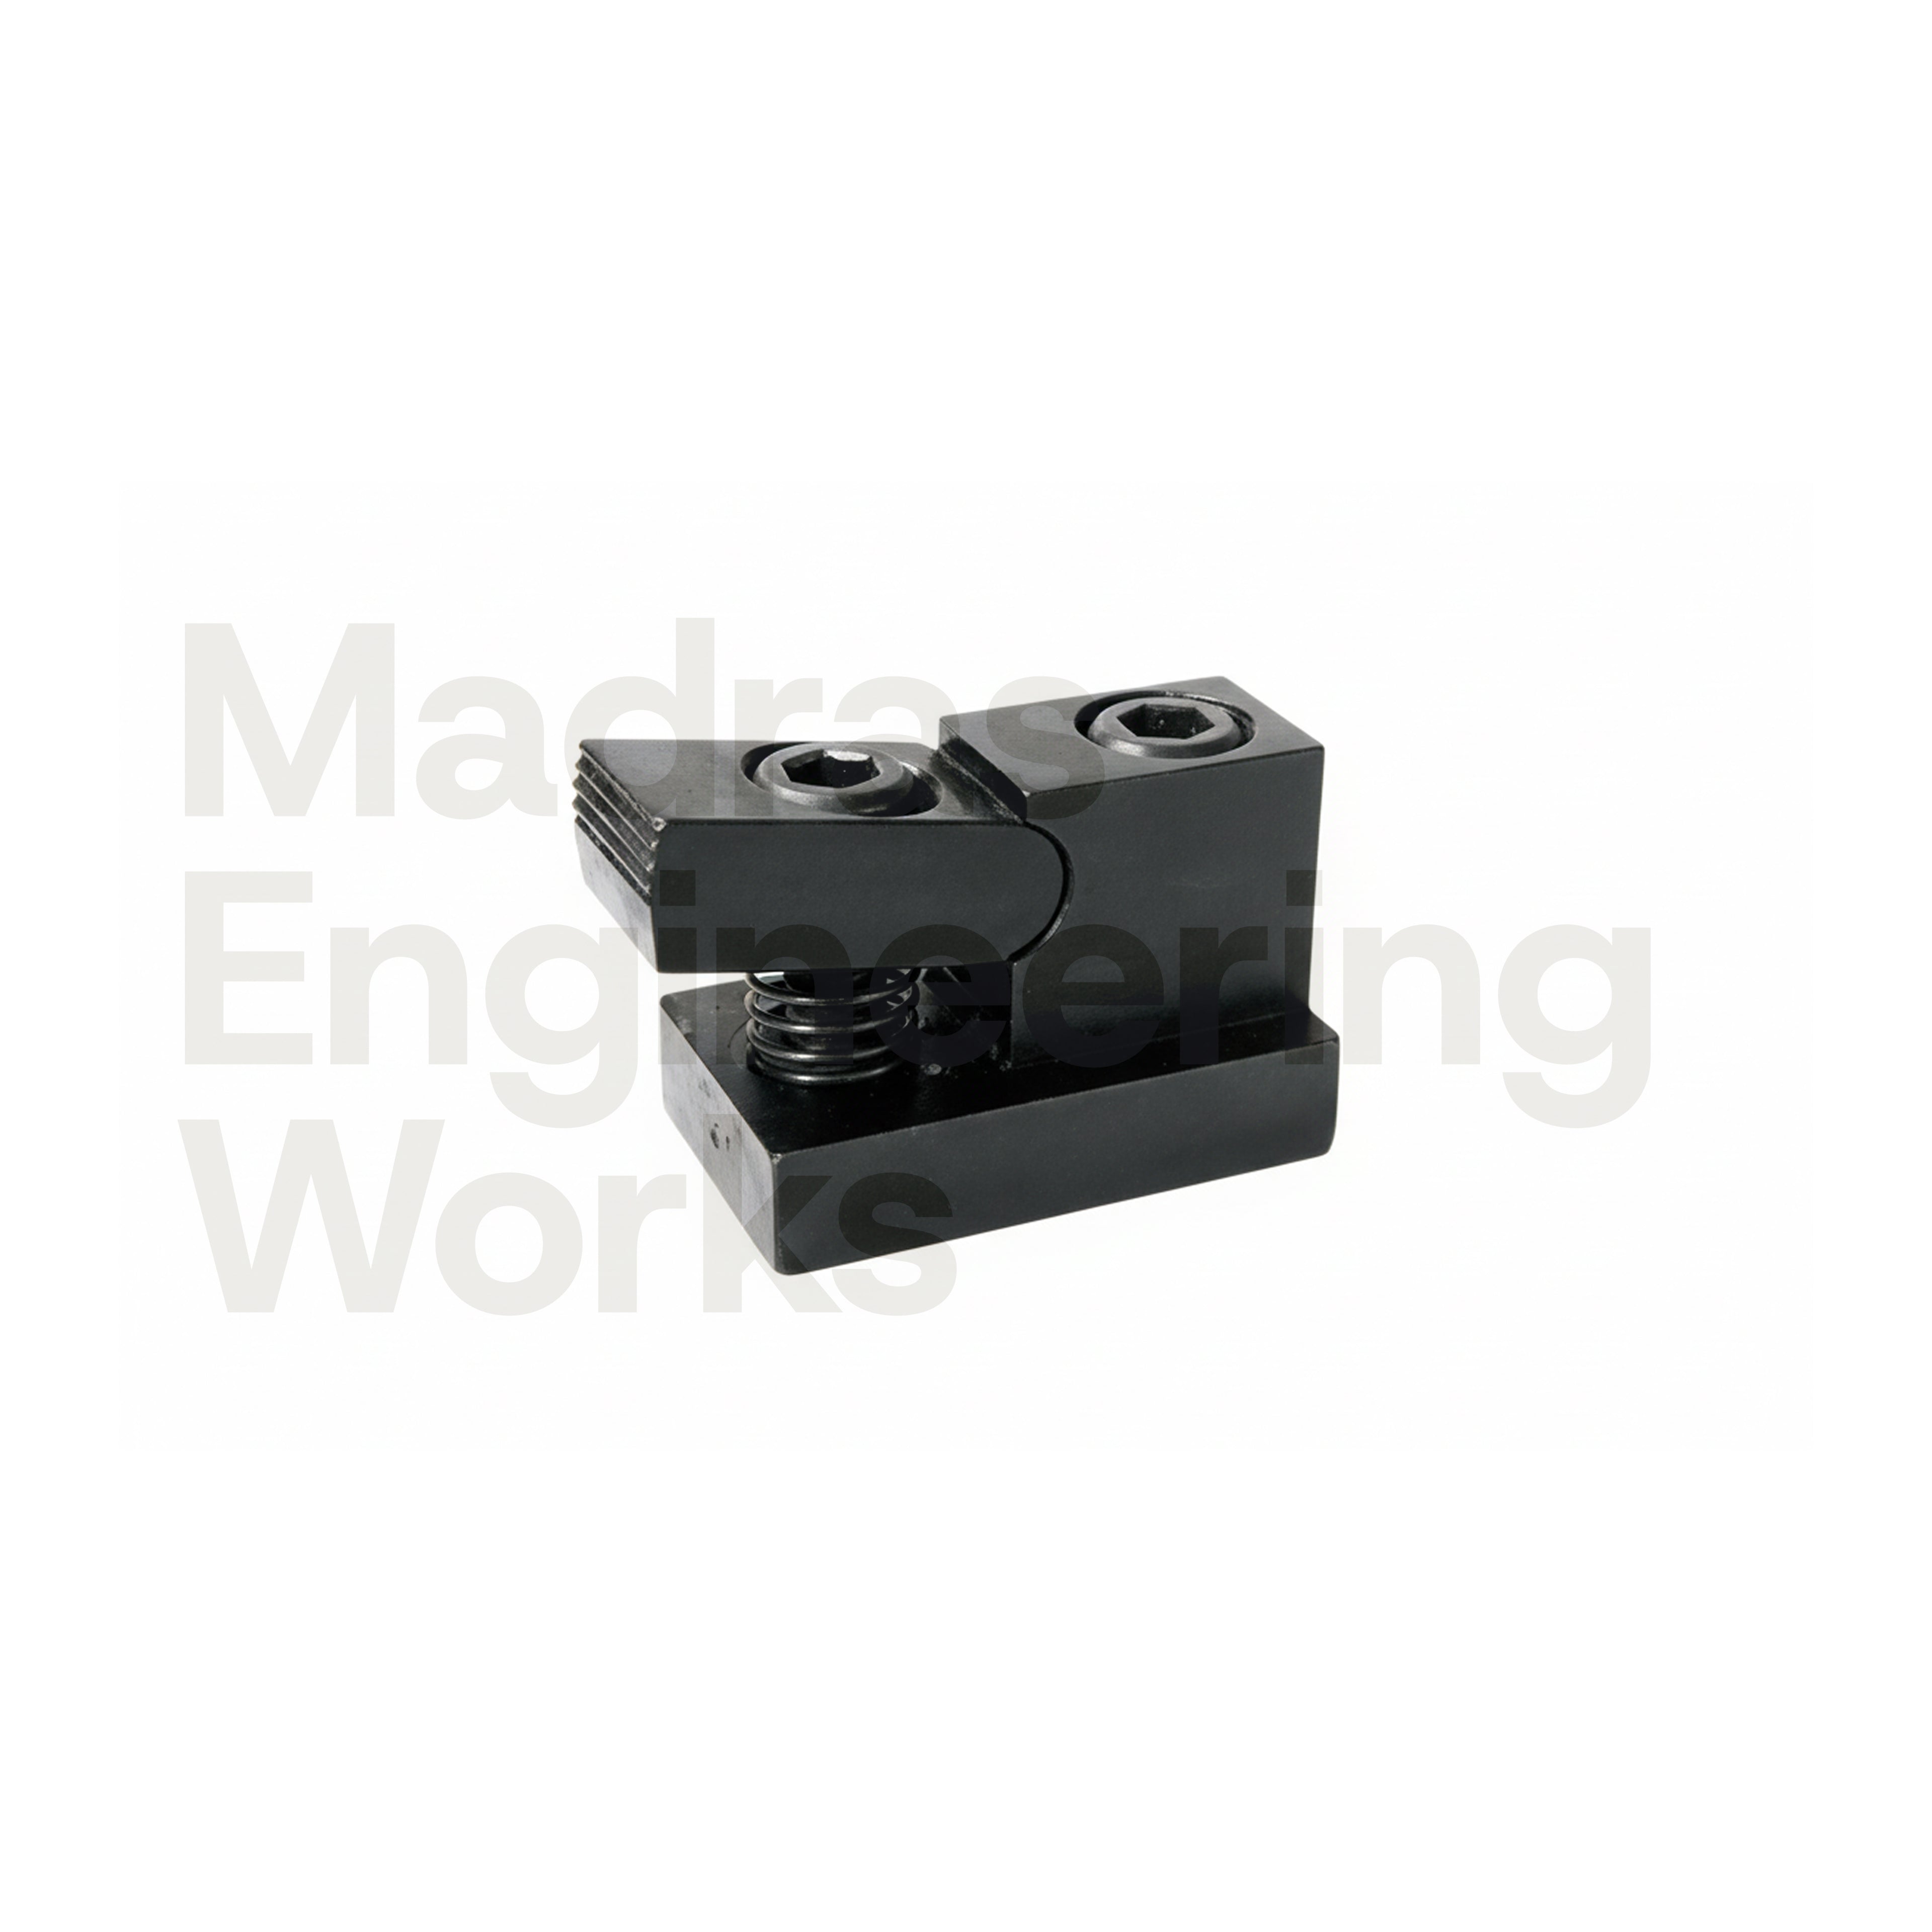
3. Step Blocks: Not Optional Accessories
Step blocks are load-bearing components. They:
- Define the clamp’s fulcrum
- Protect studs and T-slots
- Transfer force safely into the table
Never allow the clamp heel to rest directly on the table. This converts the T-slot lip into a lever arm and causes cracking.
Height Matching Is Critical
- Step block height should be within ±5–10 mm of job height
- Too low → steep clamp angle → prying
- Too high → clamp misses job or slides
Using one “standard” step block height for all jobs is one of the most common setup errors in Indian shops.
4. Load Path: Correct vs Incorrect Setup
Correct Load Path
- Clamp force flows into job
- Job presses into table and locators
- Stud and T-nut carry preload only
- T-slot remains unstressed
Incorrect Load Path
- Clamp tilts steeply
- Heel reaction loads T-nut instead of step block
- Stud bends under prying moment
- T-slot lip cracks over time
The setup feels tight—but fails under cutting.
5. Geometry Is a System, Not Individual Parts
| Parameter | Wrong Result |
|---|---|
| Stud too long | Clamp sits high, angle increases |
| Step block too short | Prying force on T-slot |
| Long clamp on thin job | Excess leverage, deformation |
Rule: If stud length increases, step block height must increase to maintain angle.
6. Common Indian Shop Mistakes
- Clamp heel resting directly on table
- One step block height for all jobs
- Long clamps used on thin plates
- Clamps used as locators
- Over-tightening to compensate for bad geometry
Over-tightening does not fix geometry—it accelerates failure.
7. Failure Modes from Wrong Clamp Geometry
- Job lifting: chatter, taper, tool breakage
- Stud fatigue: sudden snap after 500–5000 parts
- T-slot cracking: expensive table repair
- Fixture distortion: inconsistent part accuracy
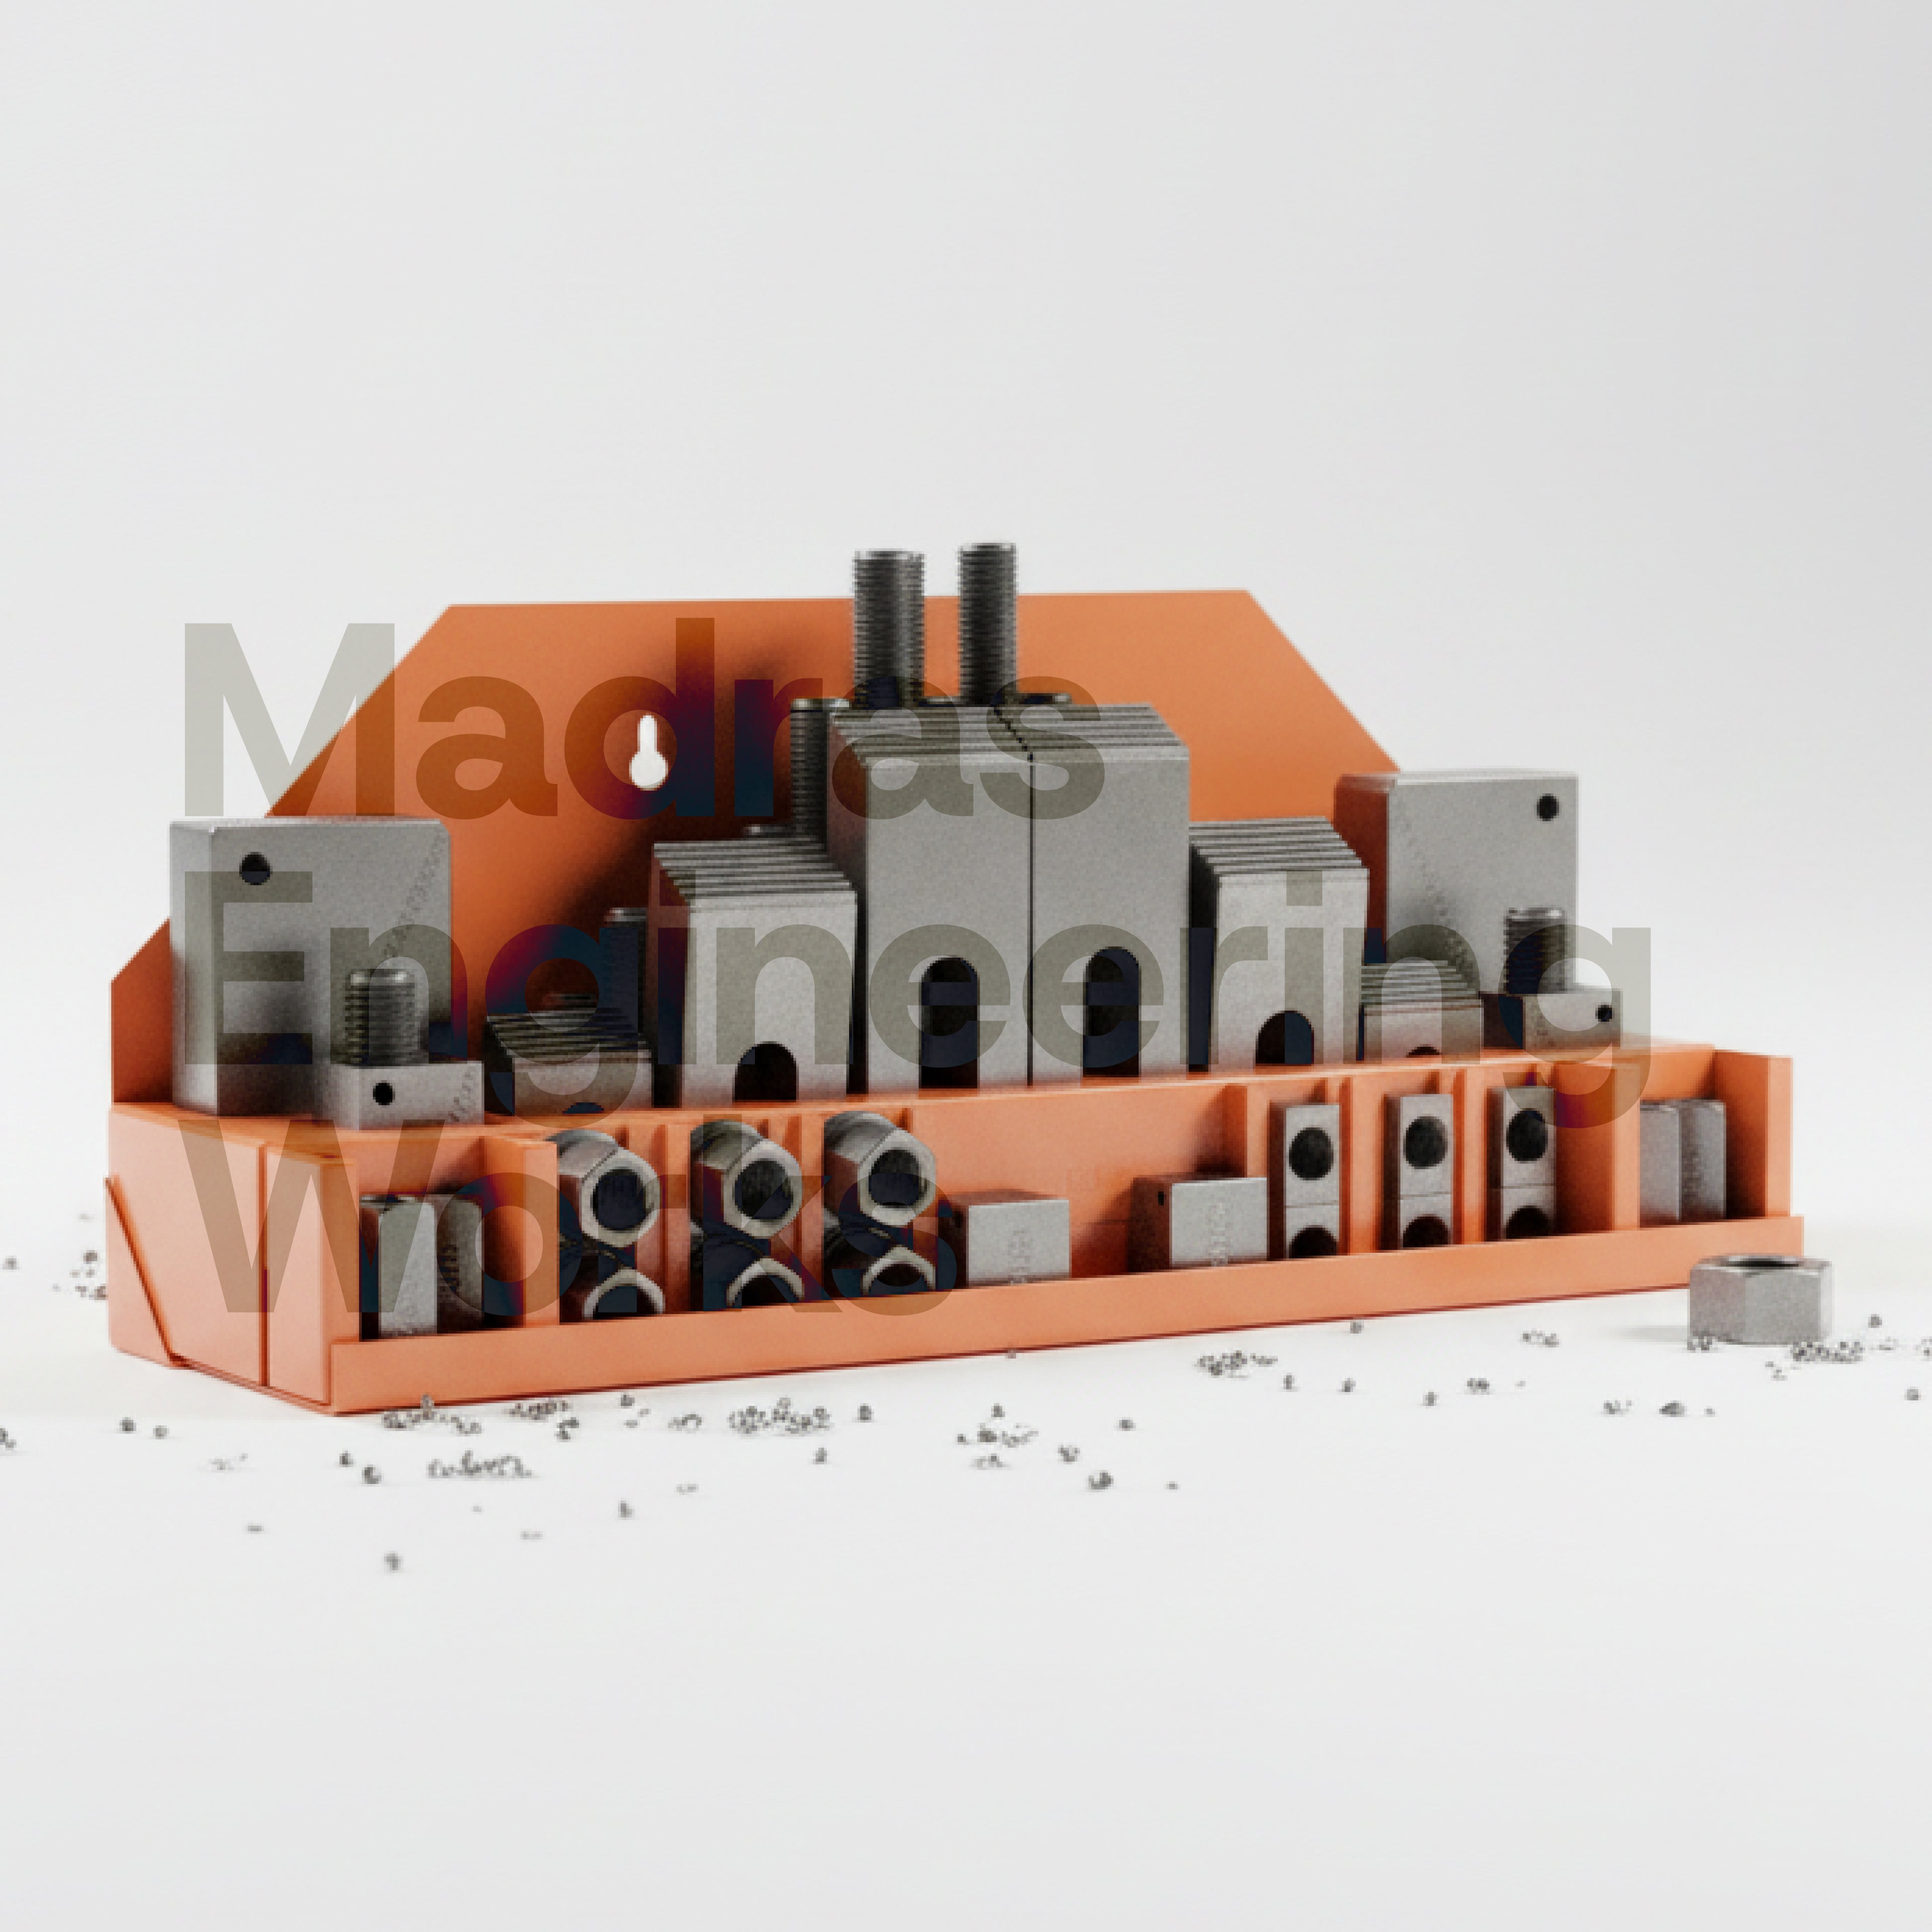
8. Practical Clamp Selection Examples
Thin Plates (10–25 mm)
- Clamp: 120–140 mm
- Stud: M10, 50–60 mm
- Step block: 15–30 mm
Medium Blocks (40–80 mm)
- Clamp: 160–180 mm
- Stud: M12, 75–95 mm
- Step block: 50–85 mm
Tall Jobs (100+ mm)
- Clamp: 200+ mm
- Stud: M16, 120–160 mm
- Step block: matched carefully (stacked if needed)
9. Best Practices from Professional Tool Rooms
- Machine-specific clamp kits
- Studs and clamps treated as consumables
- Documented setup sheets for repeat jobs
- Regular inspection and replacement
10. Simple Rules Every Operator Should Remember
- Step block height ≈ job height
- Clamp nose must sit fully on job
- Short clamps for thin jobs
- No hammer tightening
- Fix geometry before adding torque
- Never clamp without step blocks
11. Cost, Safety, and Accuracy Impact
| Issue | Typical Cost |
|---|---|
| Tool breakage | ₹500–2000 per tool |
| Scrapped parts | ₹5,000–50,000 per run |
| T-slot repair | ₹50,000–1,50,000 |
Most of these losses are preventable with correct clamp geometry.
Conclusion
Strap clamps and step blocks are simple machines governed by strict mechanical principles. When geometry is correct, the load path is safe, rigid, and predictable. When it is wrong, failures accumulate silently until something breaks.
Correct clamp geometry is one of the highest-ROI improvements any CNC shop can make.
Need help selecting the right clamps, studs, or step blocks for your machine?
Our team works daily with CNC shops across India to optimise workholding setups. A quick discussion often prevents years of avoidable damage.
Call or message us to discuss your application.


0 comments