
How to Position Strap Clamps and Step Blocks for Maximum Clamping Force
The most common cause of workpiece movement mid-cut in Indian VMC shops is not a failed clamp, a broken stud, or an incorrect torque value. It is a strap clamp sitting at the wrong angle. The clamp looks tight. The stud is fully torqued. But the workpiece shifts by 0.1–0.3mm during the cut because 60–70% of the clamping force is pushing sideways instead of holding down.
This guide explains exactly why this happens and precisely how to avoid it. Madras Engineering Works is ISO 9001:2015 certified, supplying workholding components to Indian VMC shops from stock in Chennai.
The Physics: Why a Tilted Clamp Loses Holding Force
A strap clamp converts the torque applied to the nut into a clamping force at the workpiece contact point. When the clamp is perfectly horizontal, all of this force is directed vertically downward — it holds the workpiece against the machine table.
When the clamp is tilted (the step block end is lower than the workpiece end), the force resolves into two components:
- Vertical component — holds the workpiece down
- Horizontal component — pushes the workpiece sideways (away from the step block)
| Clamp Tilt Angle | Vertical (Hold-Down) Force | Horizontal (Sideways) Force |
|---|---|---|
| 0° (level) | 100% | 0% |
| 5° | 99.6% | 8.7% |
| 10° | 98.5% | 17.4% |
| 20° | 94% | 34% |
| 30° | 86.6% | 50% |
| 45° | 70.7% | 70.7% |
At 30 degrees of tilt — which is easily achieved when a step block is set two steps too low — half the clamping force is pushing the workpiece sideways. Under cutting force, the lateral component can shift the workpiece by fractions of a millimetre. The operator retorques the nut, it feels tight, but the next part also shifts.
Rule 1: Match Step Block Height to Workpiece Height
The step block top surface must be at the same height as the clamping contact surface on the workpiece.
If the workpiece is 47mm tall and the available step block steps are 40mm and 50mm, neither is correct. The 40mm step leaves a 7mm height difference — the clamp tilts significantly. The 50mm step creates an opposite tilt.
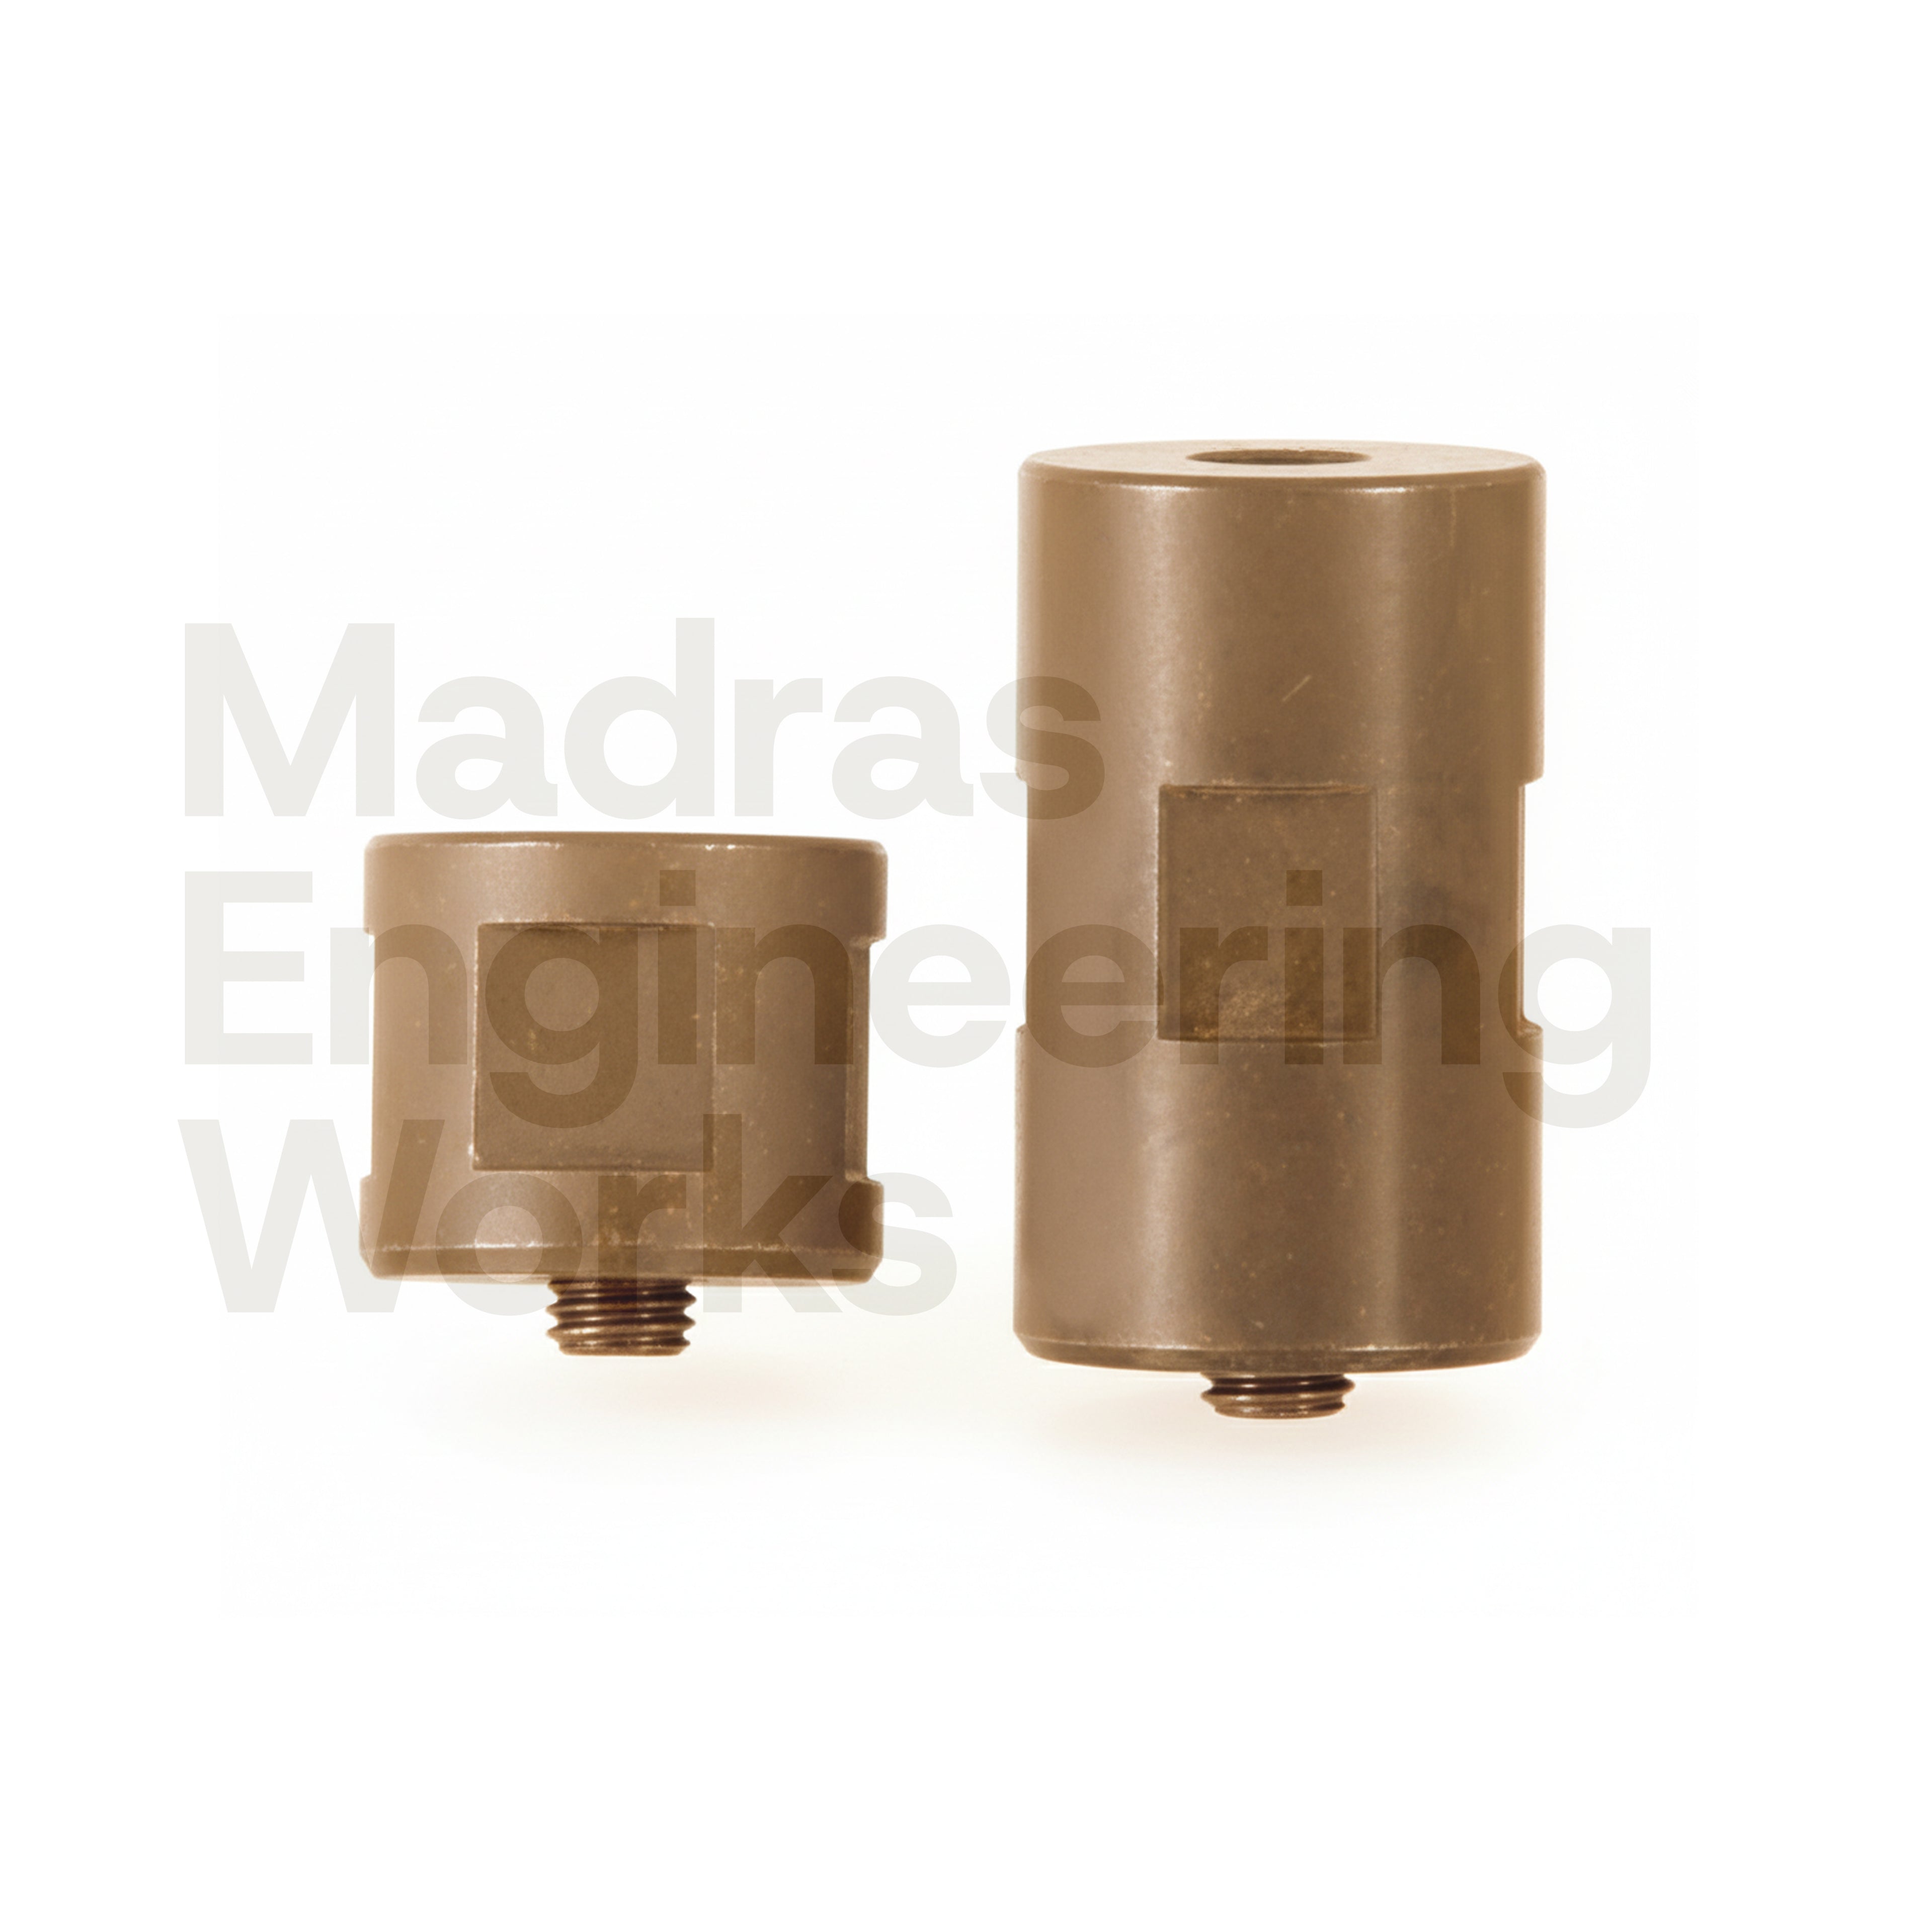
The correct solution: use a supporting height plate (SHP) from Madras Engineering Works to bridge the gap. A 4mm + 2mm SHP plate stack brings the 40mm step block to 46mm — close enough that the remaining 1mm of tilt is negligible.
For height fine-tuning, see the supporting height plates and smooth sliding blocks covered in our Supporting Height Plates guide.
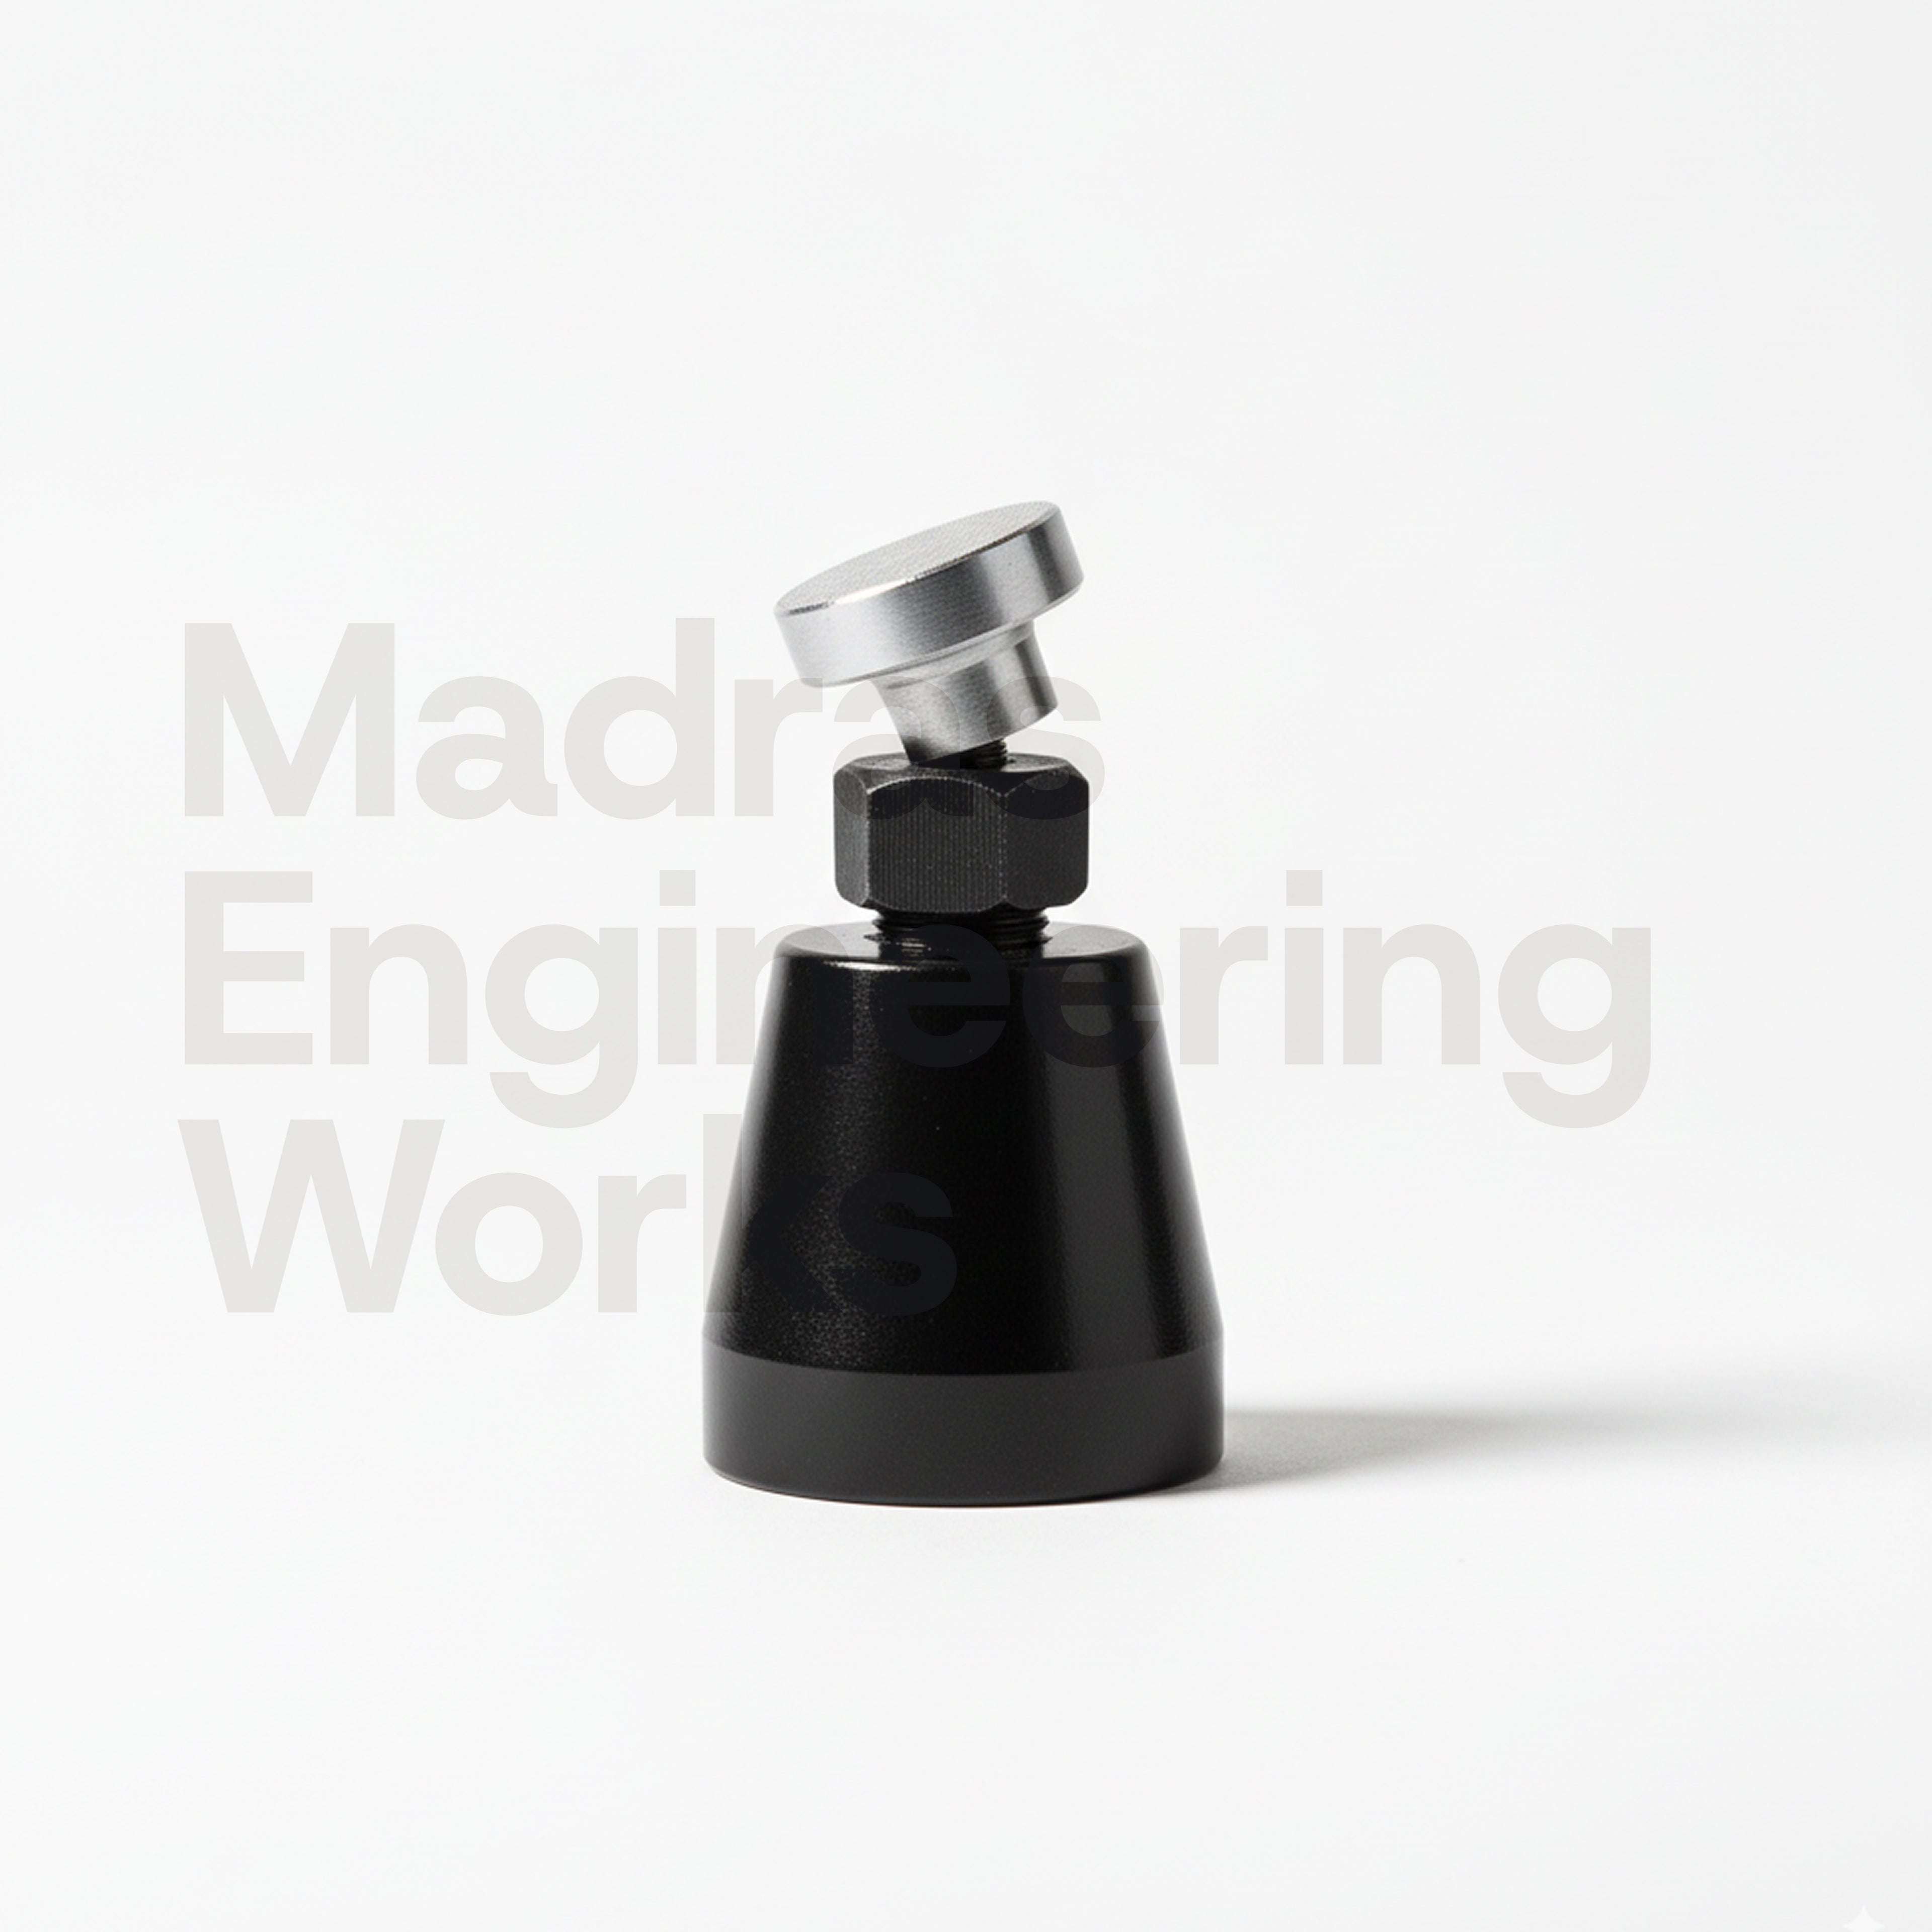
Rule 2: Position the Stud Correctly
The stud position along the clamp length determines the ratio of clamping force applied at the workpiece contact versus the step block end. By the lever principle:
- If the stud is positioned exactly midway between workpiece and step block: equal force at both ends
- If the stud is positioned one-third from the workpiece: the workpiece end receives twice the force of the step block end
- If the stud is positioned one-quarter from the workpiece: three times the force at the workpiece end
The stud must always be closer to the workpiece than to the step block. Minimum ratio: 2:1 (stud is twice as close to the workpiece as to the step block). For maximum holding force, aim for 3:1 or 4:1.
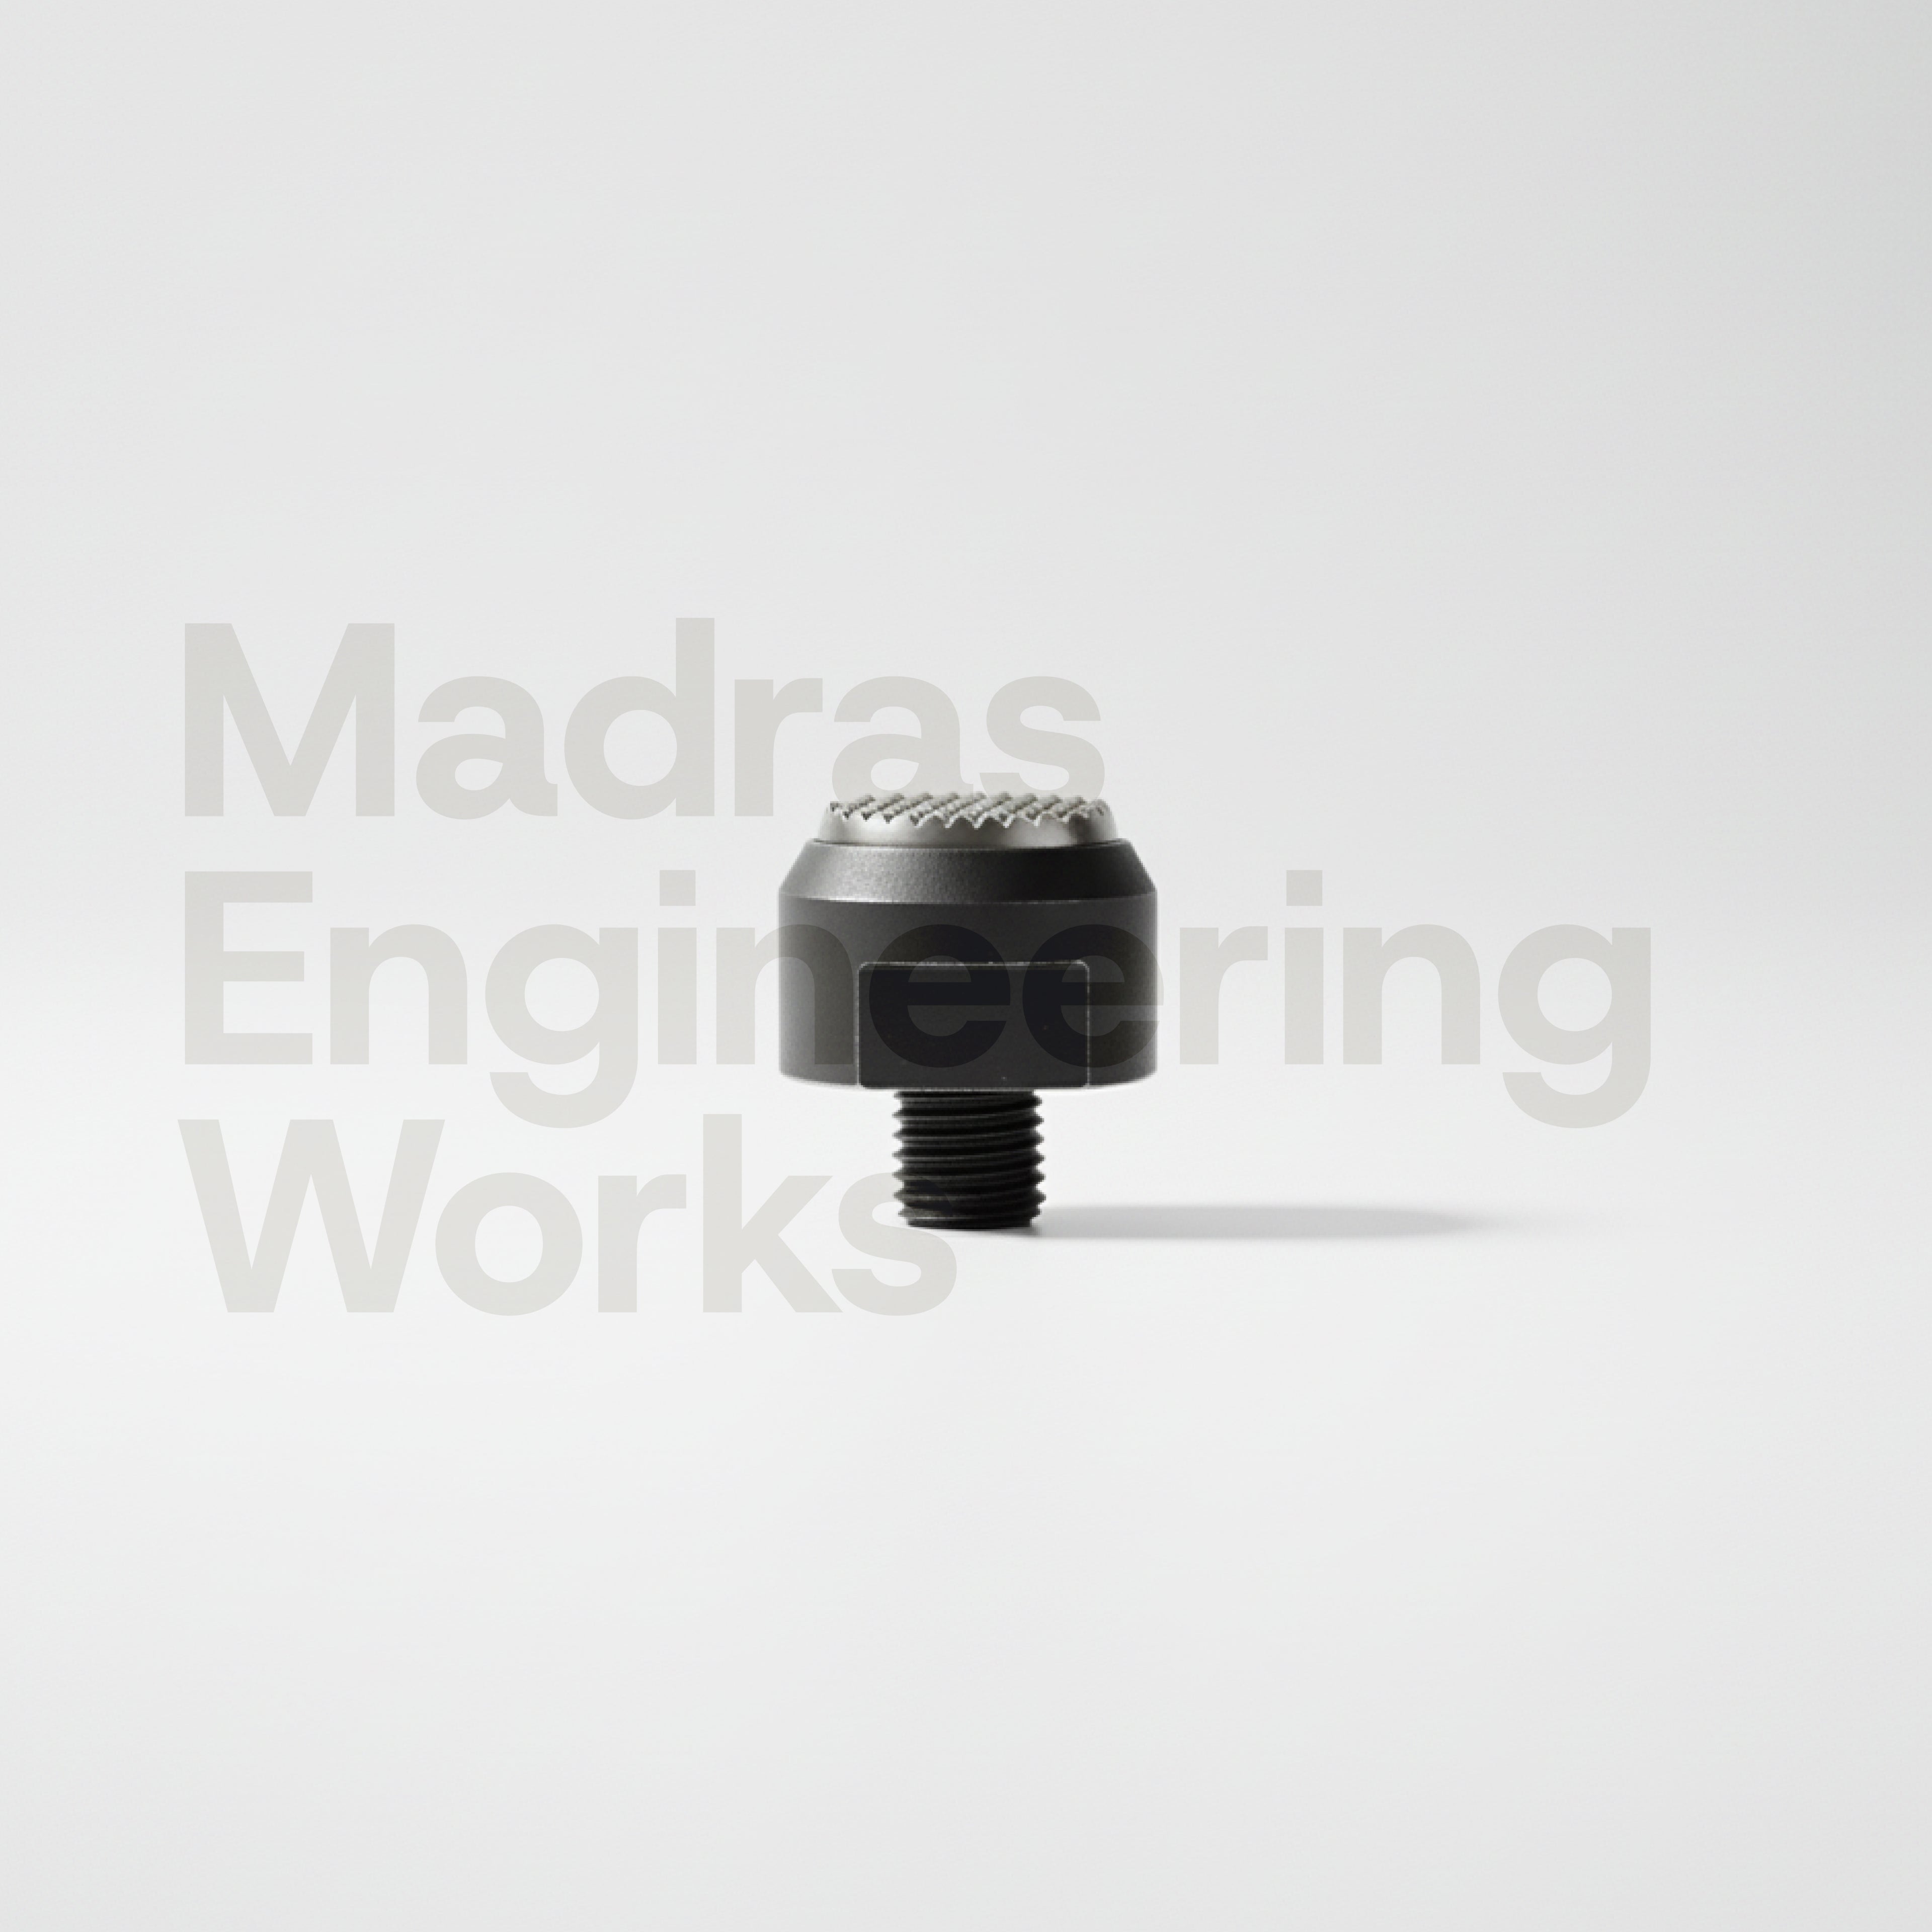
This is why Madras Engineering Works recommends slotted strap clamps (T1-SC-1175) for setups where the stud position needs to be adjusted — the elongated slot allows the stud to be placed at the correct ratio regardless of the exact workpiece edge distance.
Rule 3: Apply Clamping in the Right Sequence
When multiple strap clamps are used in the same setup, the tightening sequence determines whether the workpiece seats correctly against its datum or lifts off it.
- Place all clamps loosely at their correct positions before tightening any of them
- Tighten the clamp closest to the primary datum surface first — this seats the workpiece firmly against the primary datum without shifting it
- Tighten secondary and tertiary clamps in order, moving from the primary datum outward
- Apply final torque to all clamps in the same sequence
Never fully tighten one clamp before placing the others. A single tightly-torqued clamp can lift the workpiece off a datum surface on the opposite side of the part.
The Complete Strap Clamp Setup Checklist
- ☑ Step block height matches workpiece clamping surface height (±1mm maximum difference)
- ☑ Stud is positioned at least 2:1 closer to workpiece than to step block
- ☑ Clamp body is horizontal (check visually or with a small level)
- ☑ All clamps placed loosely before any are tightened
- ☑ Clamps tightened in sequence from primary datum outward
- ☑ Stud length is correct (1.5× thread diameter minimum engagement above clamp top)
For the correct T-slot size and stud thread for your VMC, see the T-slot size guide. To find a complete matched clamping kit for your machine, browse Madras Engineering Works' clamping kits range. ISO 9001:2015 certified, Chennai stock.
Frequently Asked Questions
When using step clamps how should the clamp straps be positioned?
When using step clamps, the strap should be horizontal — the step block must be set to the same height as the clamping surface on the workpiece so the clamp sits level. The stud should be positioned closer to the workpiece than to the step block at a minimum 2:1 ratio. A tilted strap clamp loses 60–70% of its vertical clamping force because much of the stud torque converts to a sideways force component rather than a downward hold-down force.
How should step block height match the strap clamp?
The step block top surface should be at the same height as the clamping surface on the workpiece — within 1mm for practical setups. When both are level, the strap clamp sits horizontally and all the stud torque converts to vertical clamping force. Use supporting height plates (2mm and 4mm increments) from Madras Engineering Works to fine-tune height when the workpiece falls between step block increments.
Why does a tilted strap clamp lose so much clamping force?
A tilted strap clamp converts stud torque into both vertical (hold-down) and horizontal (sideways push) force components. At 30 degrees of tilt, 50% of the total clamping force pushes the workpiece sideways rather than holding it down. The workpiece appears firmly clamped but shifts under cutting force because the effective hold-down force is only half what the torqued nut would suggest.
What is the correct stud position relative to the workpiece and step block?
The stud should be at least twice as close to the workpiece as to the step block (2:1 minimum ratio). At this ratio, the workpiece contact point receives twice the clamping force of the step block contact. For maximum hold-down force, aim for a 3:1 or 4:1 ratio. Use slotted strap clamps (T1-SC-1175) from Madras Engineering Works when the workpiece edge distance varies between setups.
What is the correct clamping sequence for multiple strap clamps?
Place all clamps loosely at their positions before tightening any. Tighten the clamp closest to the primary datum first — this seats the workpiece against the datum. Tighten remaining clamps in order from primary to secondary datum direction. Apply final torque in the same sequence. Never fully tighten one clamp before placing others — a single tightly-torqued clamp can lift the workpiece off a datum on the opposite side.
Written by Husain, Founder of Madras Engineering Works — ISO 9001:2015 certified industrial supplier in Chennai. WhatsApp +91 95143 73702 or email enquiry@madrasengg.com.


0 comments